Monday, June 24, 2013

Week 15 Senior Project

So we are very close to finishing the game. We just keep adding things to the game. I added lots of models so I will just show pictures of them, because everything was just making models in a short amount of time.


Monday, June 10, 2013

Week 13 Senior Project

IHDR ýÔšs sRGB ®Î é gAMA ± üa pHYs à à Ço¨d IDAT Wcø `êÿ Sº õþä= IEND®B`

Saturday, June 1, 2013

Week 12 Senior Project

In the previous week I created clothes for a specific body part which was the head. This week I created clothes for the hands or paws. Believe me or not creating clothes for the hands is fairly hard. The only real things you would put on your hand would be some type of glove. The only thing that comes close to "cute" would be mittens, but then what. Out of all the clothes that I'm going to have to make the hands are going to be the toughest ones because there isn't much you can do with them. I might think of something like changing the entire paw but that will look strange and you might not be able to tell any major difference when playing the game. That is one thing you should keep in the back of your mind, you should make things completely exaggerated so that people can see the difference. Instead of small changes go for the big ones.


Monday, May 27, 2013

Week 11 Senior Project

This week I chose to do one location of clothing. I picked the head. The reason I chose the head is because like in real life when you wear something in your head it is a accessory and since the dress up part is all about accessories I thought this was going to be easy to pound out. One of the more harder problems about this was that the shape of the head made it difficult to have thing such as cowboy hats and baseball caps. So I ended up improvising.

In most games the head piece is used as a sign of stature such as RuneScape. With it's Party Hats, Santa Hat's etc. Same goes for real life. How many times have you seen a chef wear a hat that is different than other workers hat, or a Foreman in a construction site. When I make a clothing item I keep in mind two things cuteness and will someone choose this item.


With that being said these are the hats we have in game.


Sunday, May 19, 2013

Week 10 Senior Project

This week I had to do clothes for our cat. In most games sold in stores when the designers create things such as alternate clothes what there doing is creating a completely different model. The reason were not doing this is because we want to customize the character and also have it on a IOS Device meaning we have little memory to work with. Having many models in our game isn't a big deal but at minimum we need to have five of each clothing item so you have five different combinations for the head but then you need to multiply it by all the other different combinations you can have on the other body parts that is about 625 different combinations. That might not be that impressive of a number but when you factor in that we are now using 1024x1024 textures we are going to need a whole lot of textures. In just a couple games that allow you to make small customization such as Team Fortress 2 they use what we are going to be using which is attaching an extra model to the body of the character. In the pictures below you can see that the model is the same but he's wearing a different "hat" in each of them.


There are two ways to make clothes for a 3D model using the attach to the model way. One is to make a piece of "cloth" and wrap it around the model like a table cloth. This isn't our best choice we don't want to create something a wrap it around our model and stitch it together they always look very fake we want it to look like a different model but with taking the memory. What I decided to do is to load our current model and select where we want our clothes to go and "extend" it from the model. So when you are going to make a new model that uses the method I talked about in the beginning you do what I'm talking about. You take your original model and make thing "stick out" so thing about it like this. If you want to make a T-shirt you get the bare model and select where you want to shirt to go and then you make those selections bigger to give the illusion of a shirt. After a while you want to go back and make it more realistic as in adding a hole for the neck so that it doesn't look like the shirt is painted on. Here are the clothes we have for our demo.


Sunday, May 12, 2013

Week 9 Senior Project


This week we all really wanted to work on the feedback we got from our demo, and our client. One of the big things was the colors and how everything looked. So I'm going to bump up the quality of the textures on all the models. Instead of using memory saving 256x256 pictures I'm going to be using very pretty 1024x1024. If your not clear what do these numbers mean just think that the new ones will look four times as sharp as the old ones.

As you can see from the example I put together the photo to the left is the photo that is sharp and 1024 and the one on the right is the memory saving one. The first thing you can tell is that they both look alike when viewing from a distance but if you see the one on the right you can tell that it is missing some detail. For example the photo on the right is missing the grid the Google logo has. Also if you make the photo on the right bigger or stretch it to fit a big object you will definitely see all the little details that it's missing from the photo on the left. Think of it as taking a high-res photo from a modern camera phone to a photo you would get from a old flip cellphone from 2000.

(High-Res - Low-Res)

Another thing that the client didn't like was the model for the cat. Hopefully this will be the last time I would have to redesign the cat, because I really need to get started on the clothes for it. I was also told to do a model for a dog. Keeping with the theme of "cute" I thought what type of dog would make for a cute dog. Then I though well why not a puppy with huge dumbo ears. That is what I was able to get once both of these models get placed in the game then I will finally get the green light to make the clothes for the Cat.


If your asking yourself why don't I make the clothes the just adjust it for the cat think of making a tailored suit for a client. You can't just make any suit you need to get the person in the take measurements and know what size do you have to work with. Even the previous clothes I made for the other cat I will have to redo to fit this cat. Yes I have something to work with but chances are that I'm going to have to scrap it and start over. This is the cat that hopefully we are going to be working with for the rest of the time we have left.


Monday, April 22, 2013

Week 7 Senior Project

We are now in week 7 out of our 16 week course. Technically our half way point is in week 8, but by week 8 we need to have everything integrated together. Now I am going to talk about what I'm planning to do for the next half of the project. I know I will have to continue making object for the game "what object?" I don't know yet they kinda just pop out when needed. However, I have complete control over what outfits the cat will be wearing so I will be concentration on them.


We were told to make a minimum of five outfits which are five head, five hand, and five body pieces along with five whole body colors. My personal goal that I'm going to set is to have ten those items I listed. I already have somewhat an Idea of there going to be. I'm going to have three themed sets and the rest of the items are going to be just random items that don't go to a complete outfit. Such as a frog hat or a strawberry body. Whenever I play a game I like to see both pre-done customization and some that you can do.

(Pre-Customized - Personally-Customize)

However giving the player to much control over what they can do to the cat isn't what were aiming for. You are given a kit and you can customized your cat with that given kit. Being able to customize your cat is better than not being able to do anything to it and have to see the same thing over and over that is why many game like Call of Duty and Gears of War give you the option to change the way your weapons or even person look to give you that connection to that pawn instead of it just being another payer in the game.

Sunday, April 14, 2013

Week 6 Senior Project

This week I sent over a lot of models to our client Max, but I wasn't satisfied with what I sent so I redid all of the models and most of them got big improvements. I will include screenshots of those that showed the most improvement. Next week I will work on making many more cute dresses for the cat.

(Old Model - New Model)


Sunday, April 7, 2013

Week 5 Senior Project

This week nothing really difficult and nothing flashy happened the entire group had to get there Apple Developer licenses, I would say that is the highlight of this week. Everyone in the group has a Apple Developer license and can access the secret garden of Apple. Which is the Apple Developer website "https://developer.apple.com" In here there isn't many fancy things here it is just the "ID Badge" you need to get into the "building" where all the cool developers are.


The real fun stuff is in the UDK (Unreal Developer Kit) engine. They have a program that comes free with the program that is called "Unreal iOS Configuration." In order to use this program it even tells you that you have to be a registered Apple iOS Developer. They also have a really good walk though in there help section although some of the pictures and what they talk about doesn't make sense because it contradicts what you see, however for someone that didn't have any clue what to do I was able to get something on my Apple Device. The link is "http://udn.epicgames.com/Three/AppleiOSProvisioningSetup.html#Creating%20New%20Provisioning.html"


After all of that setting up we can just load up UDK and our game can be played on our iOS Device with literally the push of one button. It will not show up in the Apple store this is just for bug testing and with being able to share with our client our progress. Which brings me to the last and final thing we did this week. On Friday we met with our client Max Voelker Senior Producer of Fire Hose Games on our progress and how we would send him our work to give us feedback. He talked about using a website that is used regularly in the iOS and Mobile development "https://www.testflightapp.com/" This website was fairly easy to use you just need to register and create/join a team after that you can upload your app or API and everyone in your team can download it straight to there iOS device. Once this project is over I'm still going to be using this website to learn more about Mobile development.


Sunday, March 31, 2013

Week 4 Senior Project

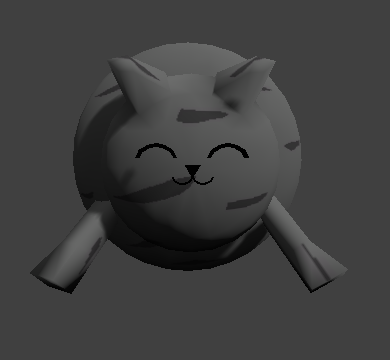
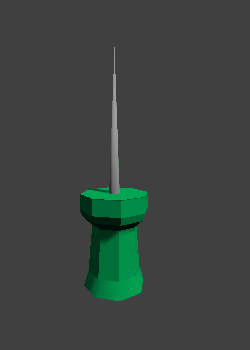
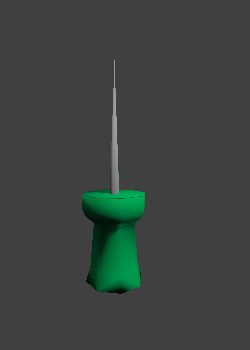
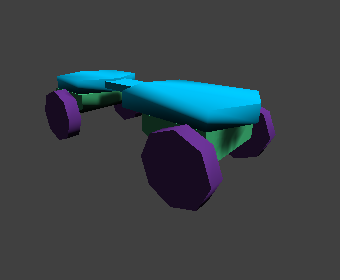
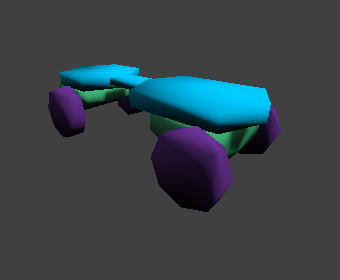
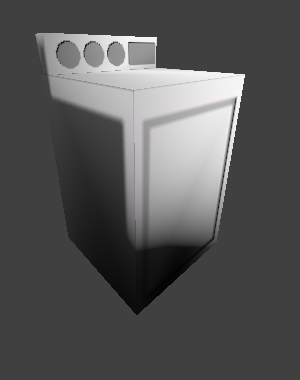
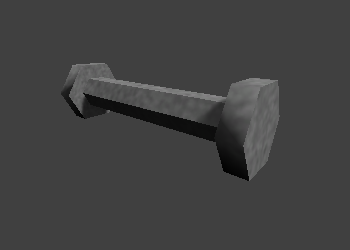
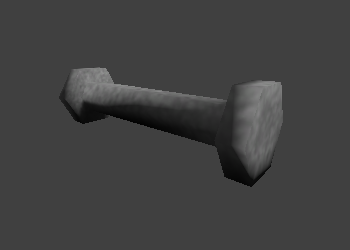
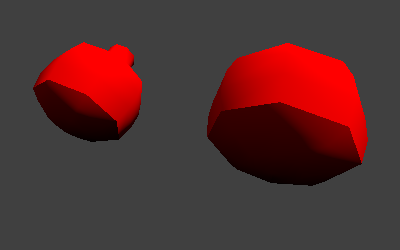
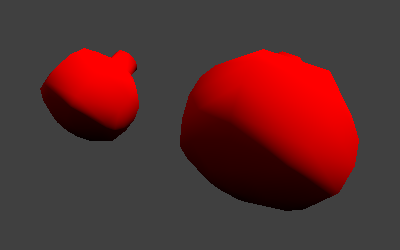
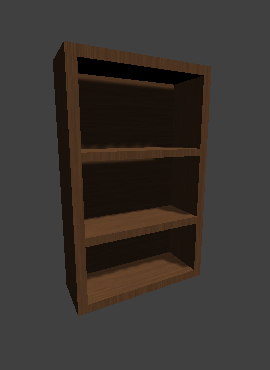
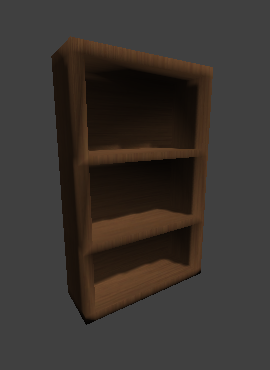
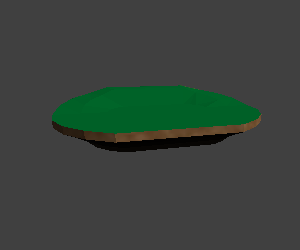
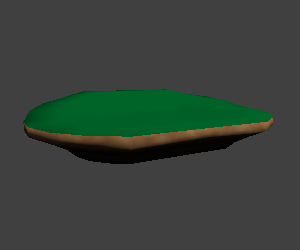
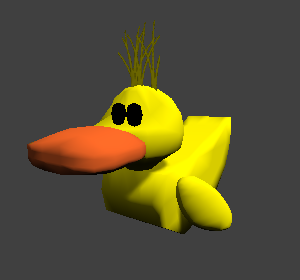
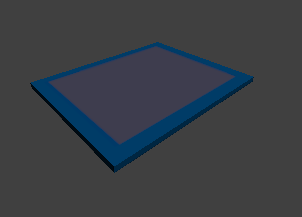
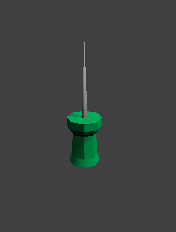
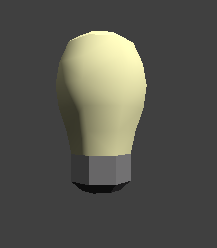
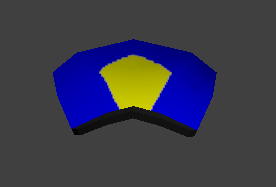
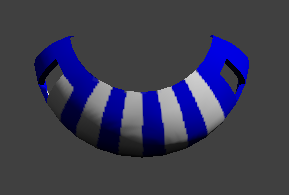
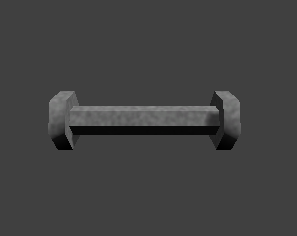
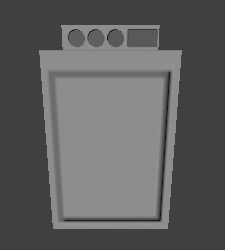
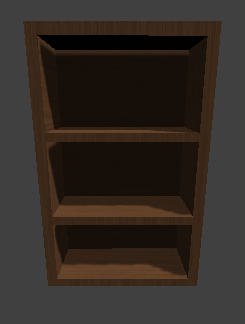
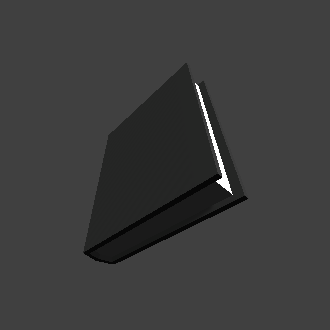
This week I was given a lot of models to make. Since I am making this game for a phone I need to remember to keep a small file size for everything I make and to keep a low poly count on my models.


A poly is a "side" of a model. For example, a six sided dice would have six poly's because it has six sides. When you get to more complicated objects such as basketballs and coffee mugs they need to have a higher poly count to get all the roundness. If you are making a game for a computer having high poly count is fine because most store bough computers can handle it, but right now not all phones are as powerful as modern computers, maybe in ten years they would be but right now there not.

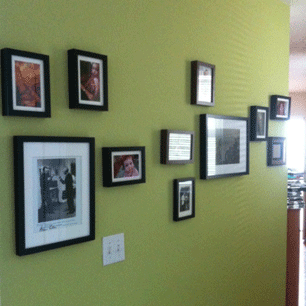
When making models for a phone or any low poly models you need to think about the big picture. They might not be pretty but they do there job.


For example, think about taking of photo of yourself, now zoom in on your cheek until you can see the hair growing out of it. It's not a pretty sight, but if you frame the photo and place it on your wall and you look at it as you walk by it look really nice. That is what you have to do when making low poly models you need to focus on the big picture and not worry about little details because chances are that the average player wouldn't notice it.


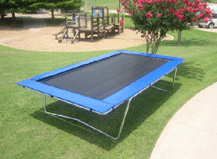
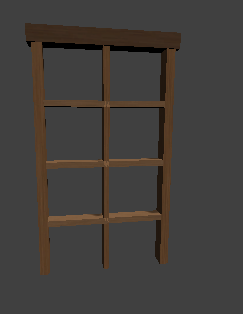
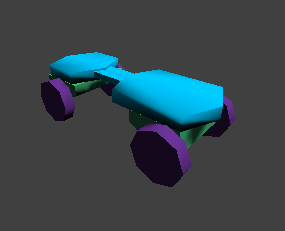
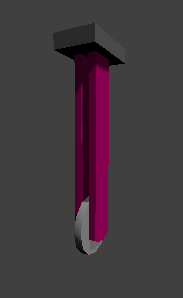
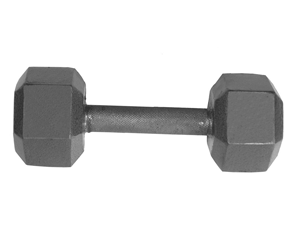
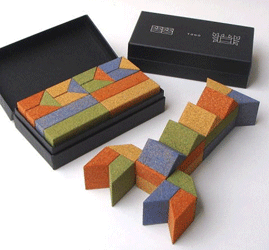
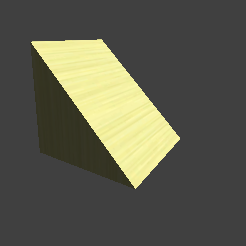
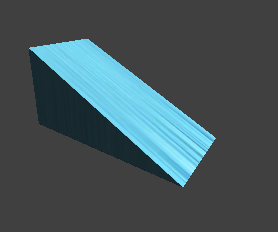
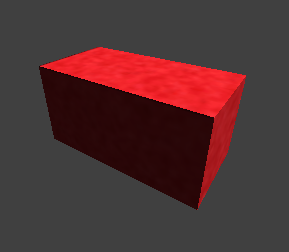
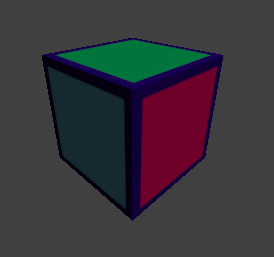
I said that I had to make a lot of models this week and I will post pictures of what I made and what I used as a reference if I used anything.