Things I learned: Since this week I had my first couple of classes of 3Ds Max and AI programming I learned a couple of things.
For AI I learned that a lot of the code derives from just a simple three line code and the there about 9 different variations of AI. the simple one that everything is from is
seek, the way that
seek works is by having a force pull the actor to the object. Then there is
flee which is the same formula expect its negative, What
flee does is puts a force between both objects. A way to picture this would be to have to magnets together if there opposite they are going to slowly move to each other and that's seek then if you have two of the same that would repel each other.
Pursue is almost like
seek but is pursue the object is moving and with
seek its in one position and with
pursue the AI calculates position, speed, and targets position, targets speed so that it can estimate where it's going to be and head there. A funny thing with
pursue is that there is nothing that can predict where humans go and reach what you do is assume that the object is going to head in a straight line. A example of pursue would be a 'Aim bot' what the aim bot does is just pursue the target and the displacement it sets your cross hair is very small so that it gives the illusion that your following the player, but what its really doing is just calculating the trajectory of the person. So if the player would just stop and turn instantly they would fowl the aim bot for a second but then it would just recalculate to the new position its heading.
Evade is just like
flee but with the principles of
pursue, the object is moving all the time.
Wander is another form of AI and the way it works is that it draws a invisible circle in front of the object and chooses a random point in it then follows it and keeps rotating around the circle and that it makes it look like the object is
wandering randomly, smaller movements in the circle the smoother and realistic the movement looks.
Obstacle avoidance makes a box in front of the agent and checks if it hits anything if it does it will adjust the box and position so that it will be less and less until there is no collisions.
Wall avoidance works a bit like
obstacle avoidance but instead of making a box it makes two lines horizontally to you and checks how far the walls are from you.
Hide finds a obstacle and hides between you and something else.
Flocking is one of the coolest forms of AI in my opinion it is when a group of agents move in the same way like a
flock of birds or a bunch of
little fish together. What
flocking does is that it generates a force based on proximity to other agents which is called separation or
don't crowd. Keeps them heading aligned with neighbours, alignment or
stay in step. Opposes of separation, cohesion or
stay together. Having them not crowd but stay together makes them not wonder in random directions. A way
flocking is used is that when you want to generate a crowd in a game you set up
flocking points and place a whole lot of people in a lets say city and since they cant move through the city they just looks like there walking around the world minding there own business. So in a game like assassins creed or a simulation where you have a huge market place you set about four or five
flocking groups and about 30-35 agents in them and have them
flock to points in the map and as long as the map doesn't get to crowded it would look like people are just wandering like in real life, and that's why
this form of AI is my favourite. When you make a
really good AI that you don't question the purpose of it you have succeeded in giving the illusion of intelligence that's what game AI does it gives the illusion of intelligence. One important thing I forgot to mention is that the correct amount of force that you add cant be measured, that means that you will have to run things in
trial and error to get a good understanding of the force you need to have for each of the different types of AI.
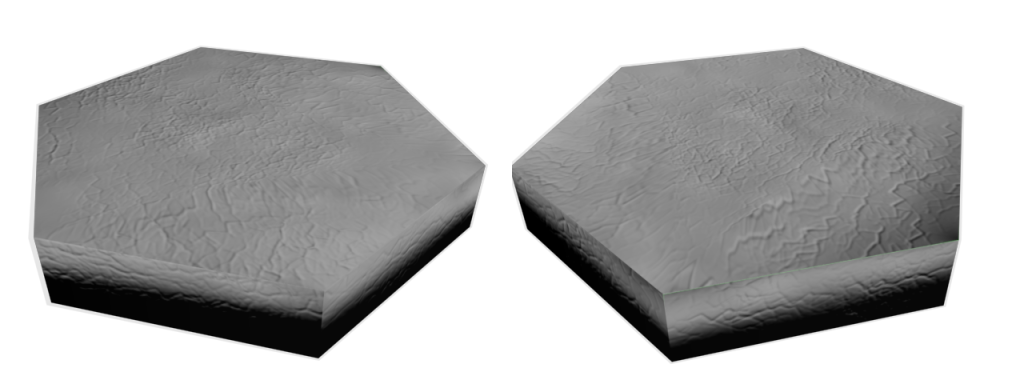
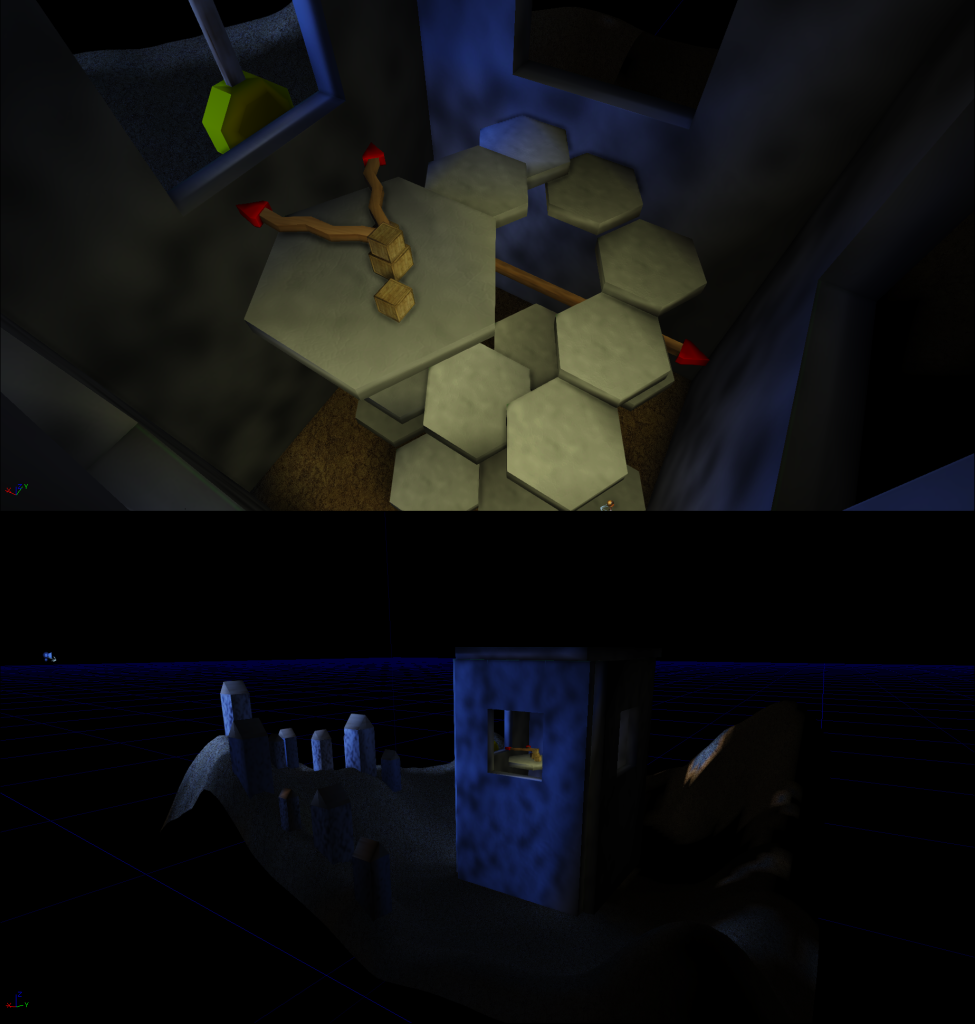
In my 3DS max class I learned how to
create a terrain in two different ways. one is simple you just grab vertex points and move them around or you can use a type of paint tool to select one point and the points around the center. I liked this but when you want to create a world that just flows nicely I wouldn't use this method this is more if you want to edit a terrain you already have. The other way that I learned and I personally like is creating a
displacement map. The way that worlds is that you have a black and white picture and black is the floor level and white is the peek everything between is the levels to create it smooth. So you can go to Photoshop or even MSpaint
Mid Term Progress:
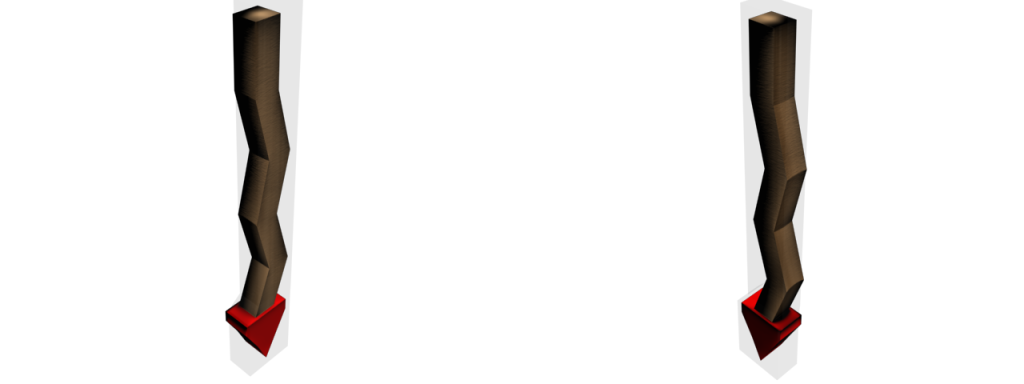
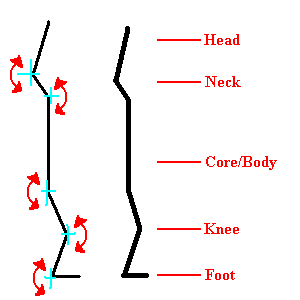
Something I'm am going to start adding in my blog is having a picture of what I wanted to go so that you don't just have to read text after text of what I'm trying to do and actually get a visual of what going on my mind. The progress I made in my midterm wasn't very much I tried to have a
single bone structure like I have in the picture. When I went to rig or animate the character the points didn't act the way I wanted them to. If I would try to move Uno's foot it would reach a point and then the mesh would invert and break. So I'm back to the drawing board on finding a way to make his bones so that I can animate him correctly. I was talking to my Professor and he was talking about
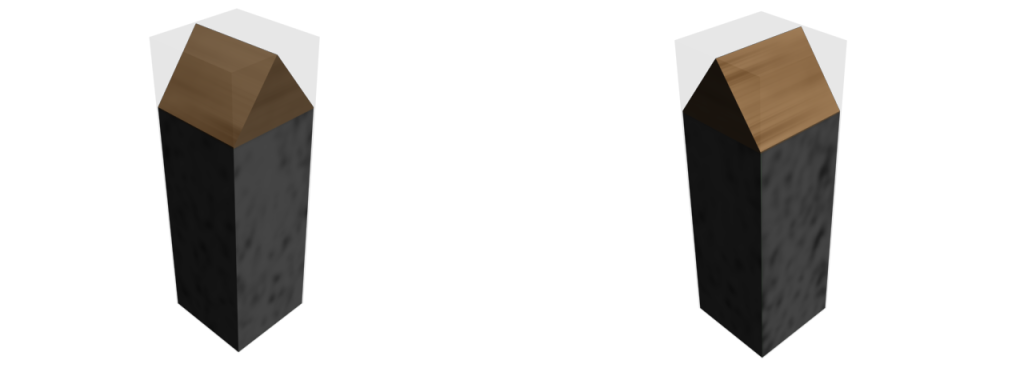
new way to create bones he said that it
uses boxes and all you need to do is make use you have a box wrapped around the arm or leg of your character and it would
automatically envelop it and UDK accepts them as normal bones. He says once the
school upgrades the 3Ds max to the
newer version he is going to
stop teaching bones and just
use the box method because it is
the future and everyone is going to start using it
in the industry so it would be useless for use to make things with bones its still good practice but the
box method makes things so much simpler and faster. When your creating a game or movie you want fast and simple because half the time you are going to be in a
strict schedule.